
Deck treatment preparation
How to prepare decking for oiling
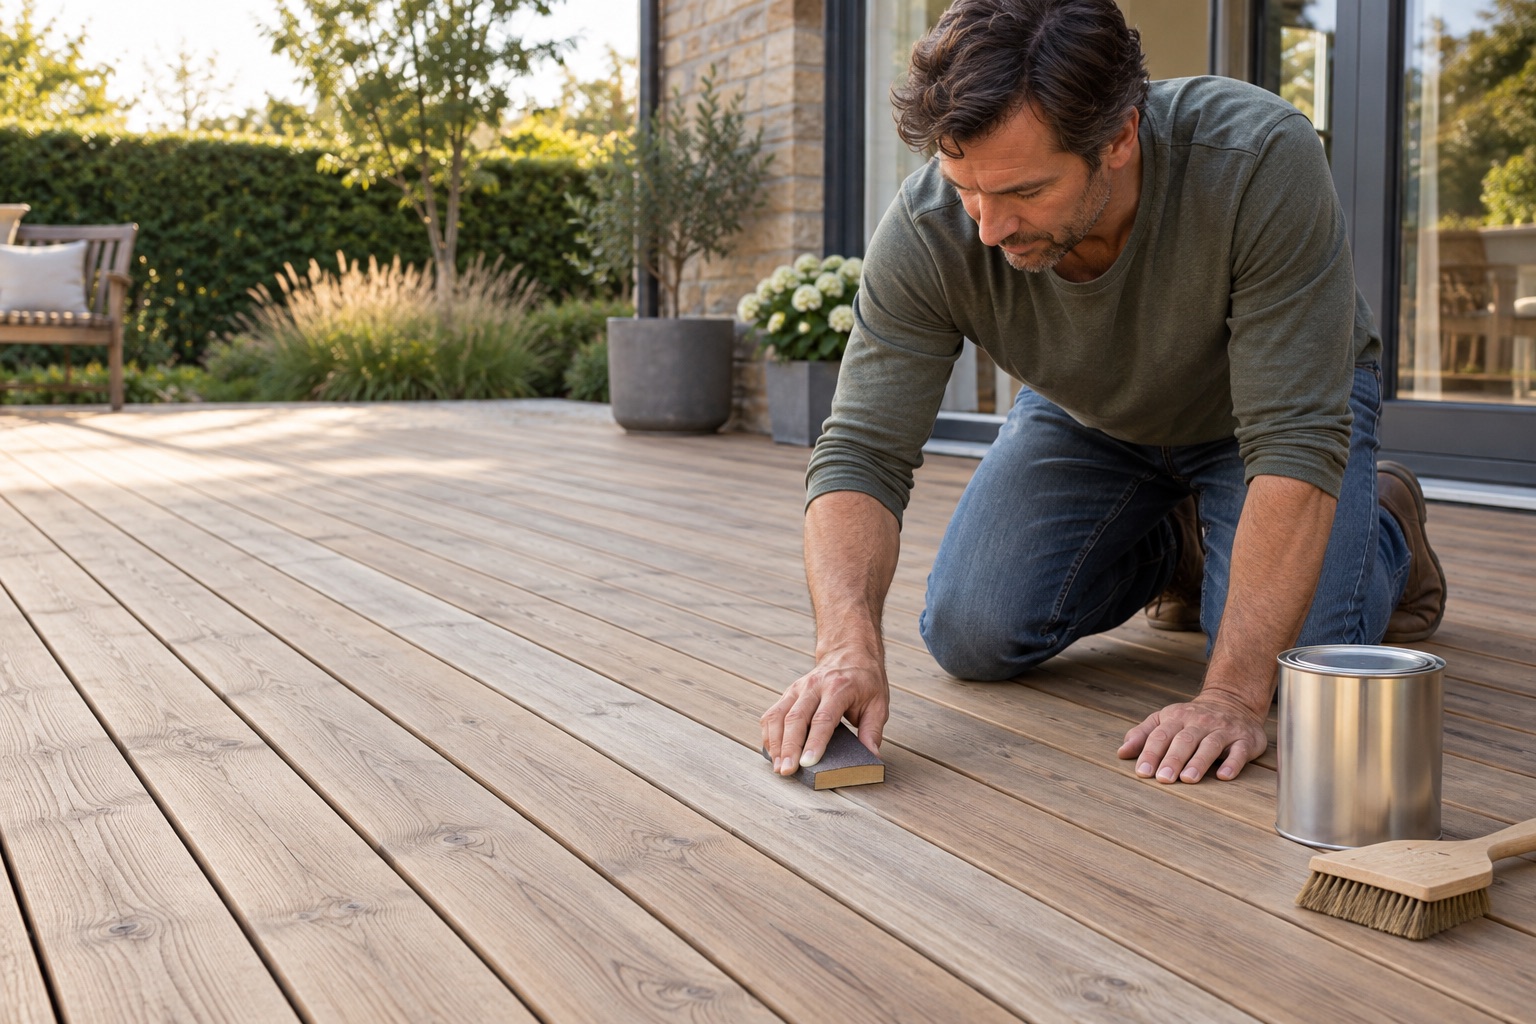
Prepare timber decking for oil by identifying the old finish, cleaning evenly, allowing full drying and sanding only where the chosen oil system requires it.
Useful products for the job
Select the oil, then prepare for that system
The finish and compatible cleaner determine the preparation method. A pressure washer is only an optional rinsing aid later in the process.
 View product on Amazon
Ronseal Ultimate Protection Decking Oil Natural 5L
Best for: Sound, dry timber decking ready for a compatible oil finish
A water-based decking oil for hardwood and softwood boards. Choose the finish before preparing the deck, check any previous coating is compatible and test the natural tint on a hidden board.
For properly prepared timber; not a way to hide rot, algae or an incompatible film-forming finish.
- 5 l tin
- Hardwood and softwood
- Two coats
- Test colour first
 View product on Amazon
Ronseal Decking Cleaner 5L
Best for: Cleaning and reviving timber boards before a compatible finish
A deck-specific cleaner for weathered hardwood and softwood. Scrub according to the label, rinse thoroughly and allow the boards to dry fully before oiling.
Use on timber decking after a patch test; check old coatings and the chosen finish instructions.
- 5 l
- Timber decking
- Scrub then rinse
- Patch test
Choose the finish first
Work backwards from the oil system
Read the chosen oil’s label and technical sheet before cleaning. It should define suitable timber, compatible previous finishes, cleaner or stripper, surface moisture, weather window, coats and drying. Buying the oil first prevents a deck being cleaned with a product that leaves incompatible residue.
Test the existing finish with the manufacturer’s recommended method. A penetrating oil, film-forming stain and paint do not share one preparation route. If a coating remains glossy or repels the intended oil, clean appearance alone is not enough.
| Existing condition | Preparation need | Do not | Ready when |
|---|---|---|---|
| Bare weathered timber | Clean and assess fibres | Oil over algae or dirt | Clean dry wood accepts the test coat |
| Previous compatible oil | Maintenance clean as system directs | Over-strip sound timber | Surface is even and dry |
| Paint or film-forming stain | Strip to product instructions | Apply penetrating oil on top | Incompatible film is removed |
| Raised grain after cleaning | Dry then sand as directed | Sand wet fibres | Dust is fully removed |
| Rot or loose boards | Repair or replace | Hide defects with oil | Structure is sound |
A reliable decking preparation sequence
- Clear and inspect. Remove furniture and pots, sweep between boards and repair loose fixings, splits and rot.
- Remove incompatible finish. Use the coating system’s specified stripper or sanding sequence; contain residue and protect adjacent surfaces.
- Clean evenly. Apply the recommended deck cleaner in manageable sections and agitate along the grain.
- Rinse completely. Leftover cleaner can interfere with penetration and colour, so follow the product’s rinse instructions closely.
- Dry without shortcuts. Allow adequate ventilation and a suitable weather window. Do not oil timber that is merely dry to the touch.
- Make the final preparation. Sand only as specified, vacuum and brush away dust, then complete a colour and absorption test.
How much decking oil do you need?
Measure each rectangular section as length × width, add the sections, and include any treated steps or board edges. The area of the whole garden is not the deck area. Work from the chosen oil's documented coverage and coat count, not an assumed litres-per-deck rule.
Plan the amount
Treatment quantity planner
Use the measured area and coverage in square metres per litre of product. Coverage for one coat and coverage for a complete multi-coat system are different: do not count the coats twice.
Up to 8 m² per litre, two coats; 5 litre pack used for this example. This is best-case coverage, not a guarantee. Rough or absorbent timber may need more. Ronseal technical specification, checked September 2026.
Example: 40 m², no extra allowance
- Calculated product at this coverage
- 10 litres product
- Whole packs to purchase at this rate
- 2 × 5 litre packs
- Product in those packs
- 10 litres in whole packs
40 m² × 2 coats ÷ 8 m²/l = 10 litres.
Up to 8 m² per litre, two coats; 5 litre pack used for this example. This is best-case coverage, not a guarantee. Rough or absorbent timber may need more. Pack counts use unrounded quantities; actual consumption can differ.
This is a buying estimate, not an application instruction or readiness check. Surface texture, absorption and losses can reduce coverage. Do not stretch a product by adding water, under-coating or exceeding its application rate.
| Treated area | Calculated product | Whole 5 litre packs |
|---|---|---|
| 20 m² | 5 l | 1 |
| 40 m² | 10 l | 2 |
| 60 m² | 15 l | 3 |
Coat coverage and finished-deck coverage are not interchangeable
At the example's maximum 8 m²/l rate, 40 m² needs 5 litres for one coat and 10 litres for two. Two 5 litre tins cover that calculated quantity with no allowance. If your label instead says a tin covers an area with two coats, that is already complete-system coverage: select that basis and do not double it.
The optional allowance changes the amount to buy, not the amount to put on each board. Keep to the label's application rate and drying instructions. A dry, compatible test patch and enough product from a consistent colour batch matter more than squeezing the deck into an optimistic coverage claim. For a cleaner rather than a finish, use the patio-cleaner quantity planner; calculate its mix separately with the dilution tool.
Cleaning before finishing
Pressure washing is optional and must remain controlled
The compact AVA Go P40 Medium can rinse sound timber where the board and finish makers permit pressure washing. Use a broad fan, low output and generous distance. A gouged or furry deck takes more remedial sanding and may absorb oil unevenly. Choose the oil and matching preparation cleaner above before considering a machine.
 View product on Amazon
AVA Go P40 Medium
Best for: Cars, bikes and smaller outdoor areas where storage space is tight
A genuinely compact 120-bar mains washer with an 8 m flexible hose and 390 l/h flow. The small body and stored accessories make it appealing for sheds, garages and mobile car-care setups.
What stands out
- Compact body with stored accessories
- 8 m flexible hose
- Ten-year warranty when registered under AVA's terms
Keep in mind
- No surface cleaner in the Medium bundle
- Lower flow than the mid-range corded leaders here
- 120 bar max
- 390 l/h
- 8 m hose
- Mains · 1.7 kW
Use our timber deck cleaning method or the manual alternative before finishing. Compare controllable machines in the decking pressure-washer guide.
Let the timber reach the oil maker’s moisture requirement
Drying depends on timber species, recent rain, temperature, shade, airflow and the spaces below the deck. Some care guidance gives an example number of dry hours, but the product requirement and actual conditions matter more. A moisture meter can help when the oil maker provides a threshold and you know how to use it correctly.
Sand only dry timber. Use the grit and sequence specified by the finish system, working evenly with the grain and taking extra care at screw heads and edges. Remove dust from faces and gaps; dust mixed with oil creates muddy colour and a weak surface.
Complete a final readiness check
- The boards are structurally sound, secure and evenly clean.
- No biological growth, cleaner, stripper or sanding dust remains.
- The old finish is compatible or has been removed as directed.
- The timber meets the oil’s moisture requirement and rain is not expected during the stated curing window.
- A hidden test patch has the expected colour, absorption and finish.
Follow the oil label for application rate and wipe-off. Excess oil left on the surface can become sticky, and oily cloths can self-heat: handle and dispose of them exactly as the product directs.
Finish-system guidance
Ronseal’s decking care guidance separates cleaning, stripping and finishing, while its cleaning guide stresses labelled application, rinsing and drying. Use the instructions supplied with your chosen oil where details differ.
Take the plan outside
Decking preparation before oiling checklist
For timber decking and the chosen oil system, not composite boards. Read the oil, preparation-product and timber care instructions together.
Tick on screen or leave blank to tick on paper. Nothing is saved or submitted. Printing includes this checklist only.
Exact model / material / product:
Notes / conditions:
Care references: Ronseal: Ultimate Protection Decking Oil preparation; Ronseal: decking cleaning and rinsing. Checked September 2026. Your exact manual, material guidance and current label take priority.
Frequently asked questions
Do I have to clean decking before oiling?
Yes. Dirt, algae, cleaner residue and incompatible old coatings can prevent even penetration and shorten the life of the finish.
Should I sand decking before oiling?
Only when the finish system calls for it or fibres and old coating need correction. Sand dry timber evenly and remove all dust.
How long after washing can I oil the deck?
When the wood meets the oil maker’s moisture and weather requirements. A fixed number of hours cannot account for shade, timber species and recent rain.
Can I oil over old decking stain?
Only if the oil maker confirms compatibility. Film-forming stain or paint usually needs removal before a penetrating oil can work properly.
Can I pressure wash before oiling?
Only on sound timber and within the timber and finish guidance. Use a low, broad fan and allow complete drying; aggressive washing can raise fibres and create uneven absorption.
Does decking-oil coverage include both coats?
Check the exact wording. A per-coat rate must be multiplied by the required coat count; a stated finished area for the complete system must not. The planner separates those two bases.